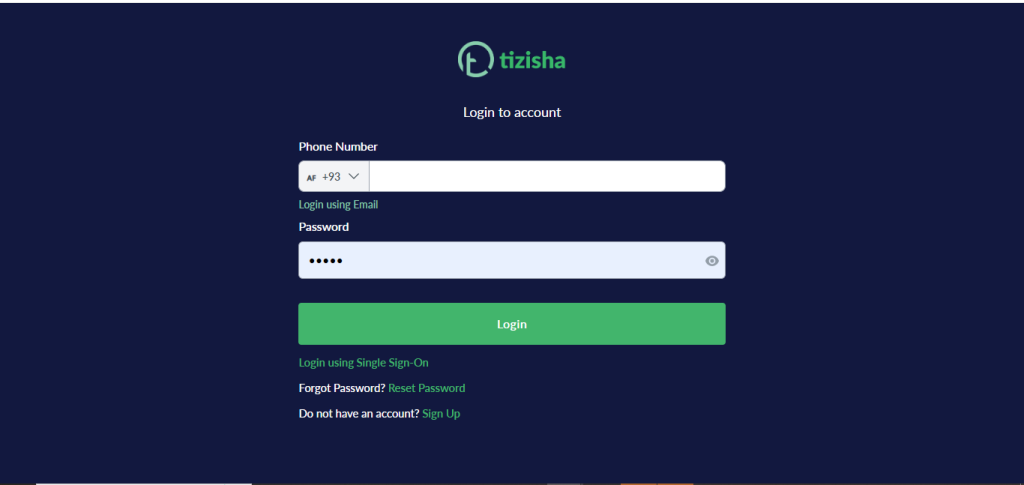
- Visit the learner web app on your phone/desktop or laptop and click reset password.
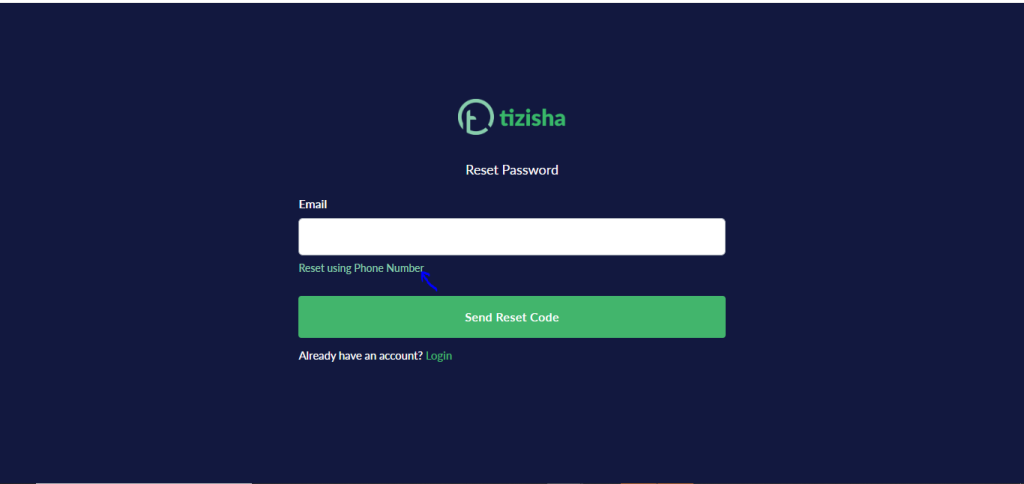
- You’ll see that there are two option to reset password, using email or phone number.
- Click on “reset with phone number”.
- On the phone number input, enter the phone number you signed up with.
- Click on “Send reset code”.
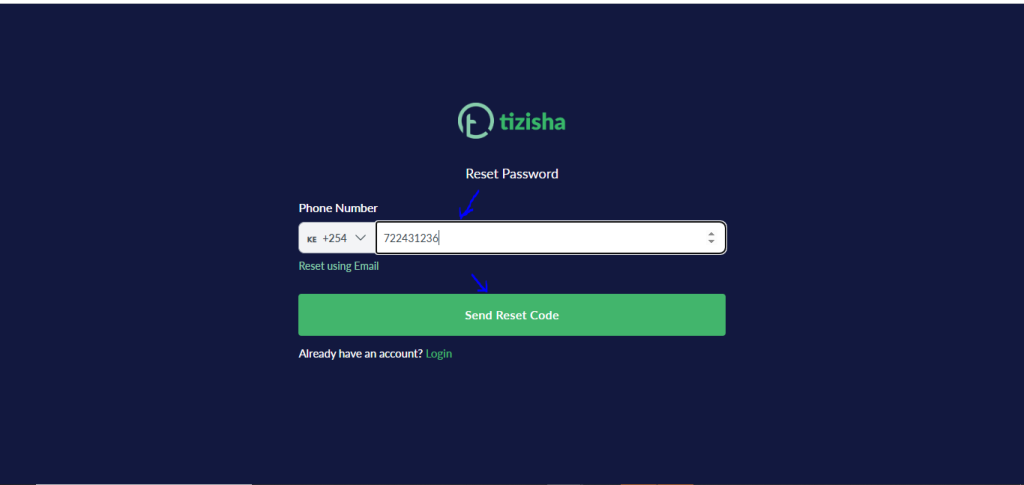
- A code will be shared with you via whatsapp.
- Enter the code and click “verify code”.

- If you entered the code correctly, you will be redirected to the reset password field.
- Enter your new password and click on “reset password”.
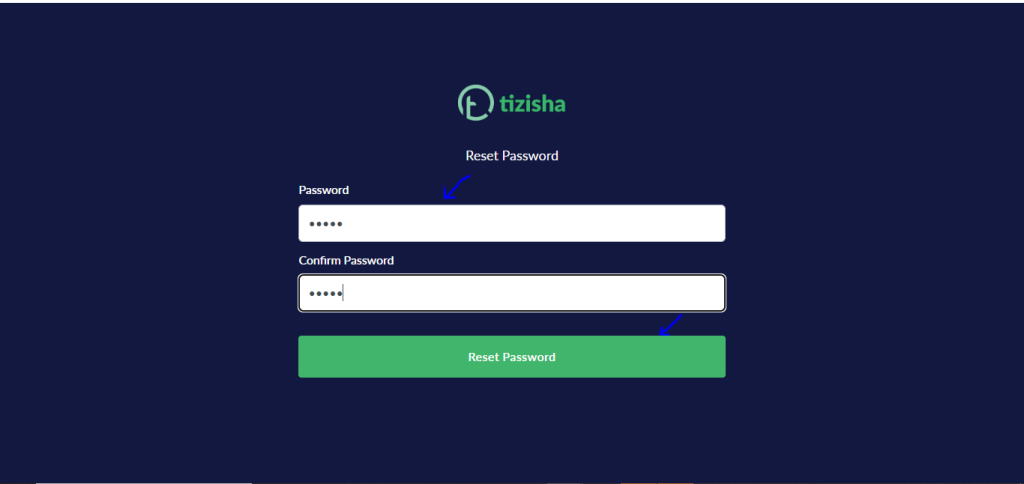
- Upon completion, you’ll be redirected to login using the new password.