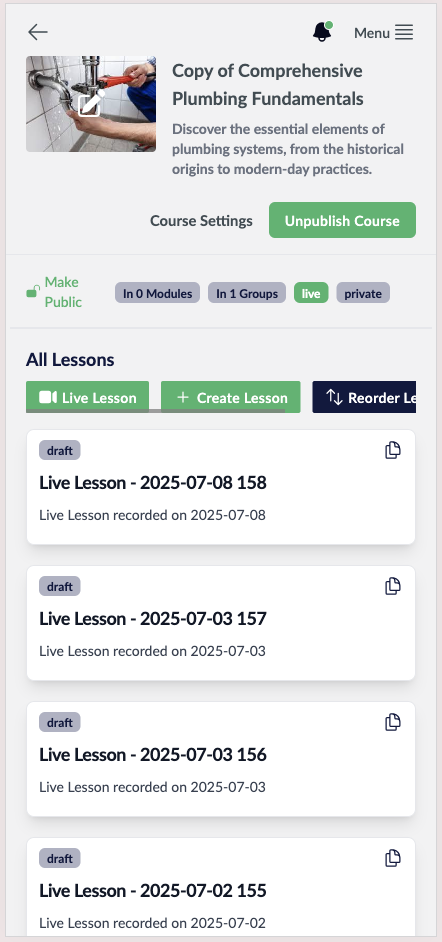
- Visit the Creator platform on your Phone/Tablet or Desktop/Laptop and Login.
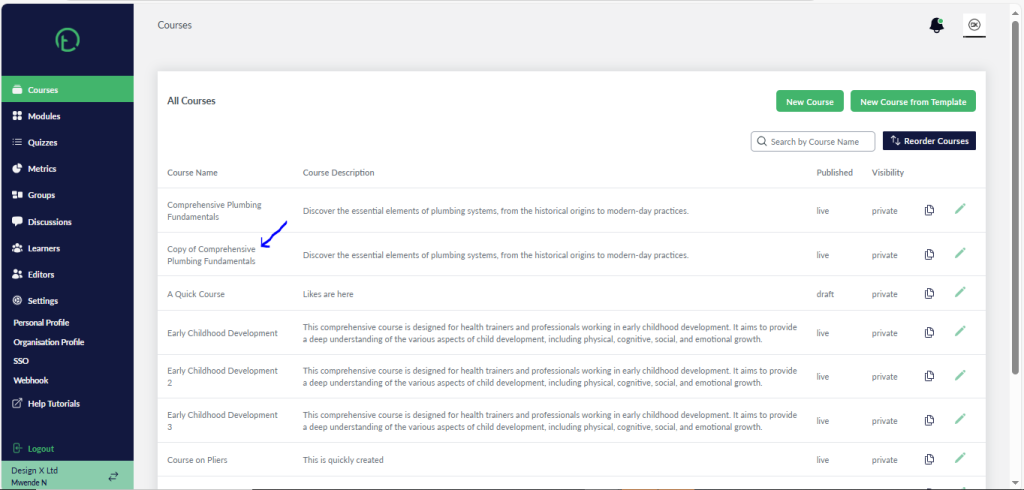
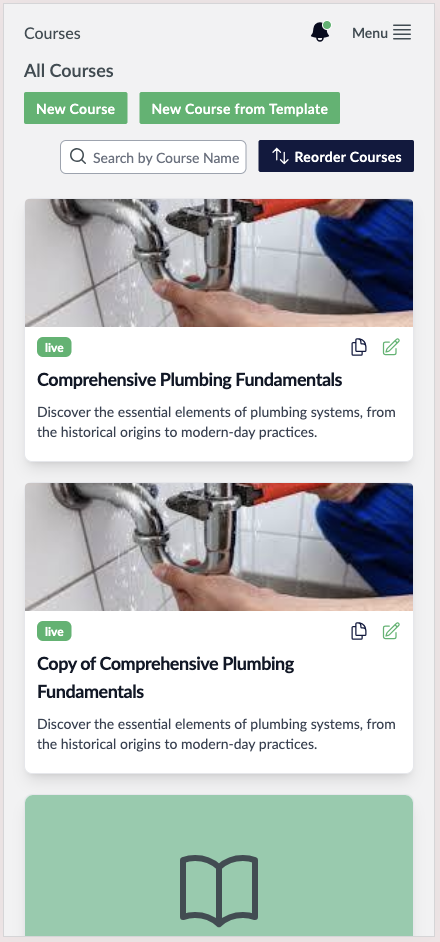
- Select the Course you want to start and record a live lesson to.
Desktop.
Mobile.
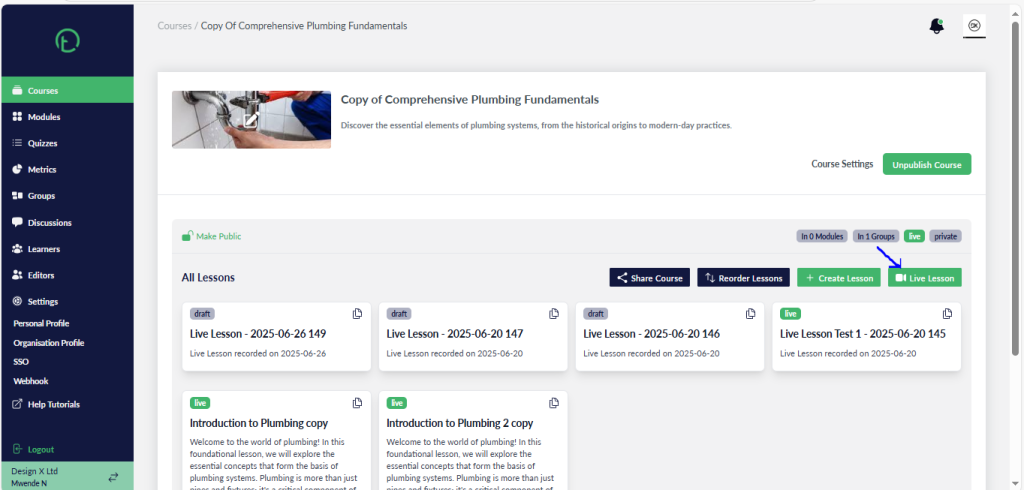
- Click on the live lesson button on the far right of your screen to start a live lesson.
Mobile.
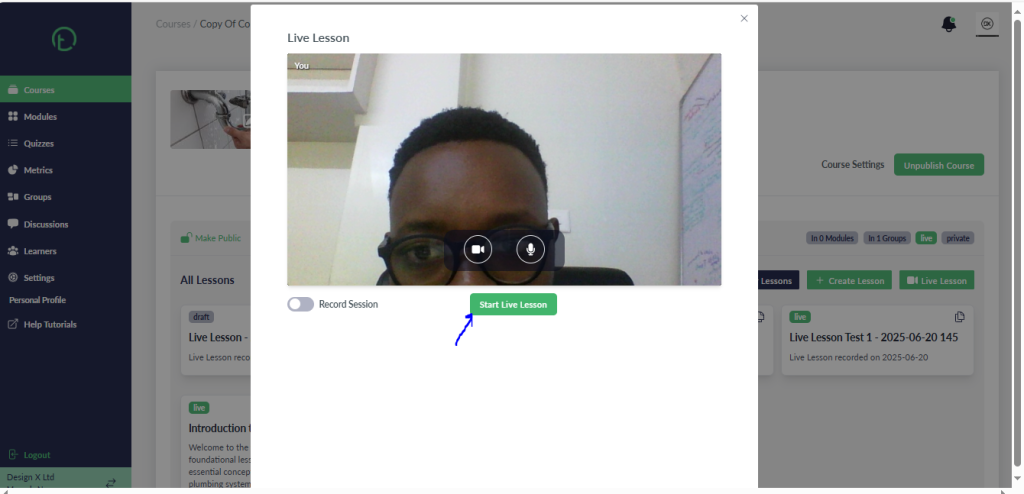
- You will see a preview of your camera with mic mute and video mute controls
- Hit the start live lesson button
Mobile.

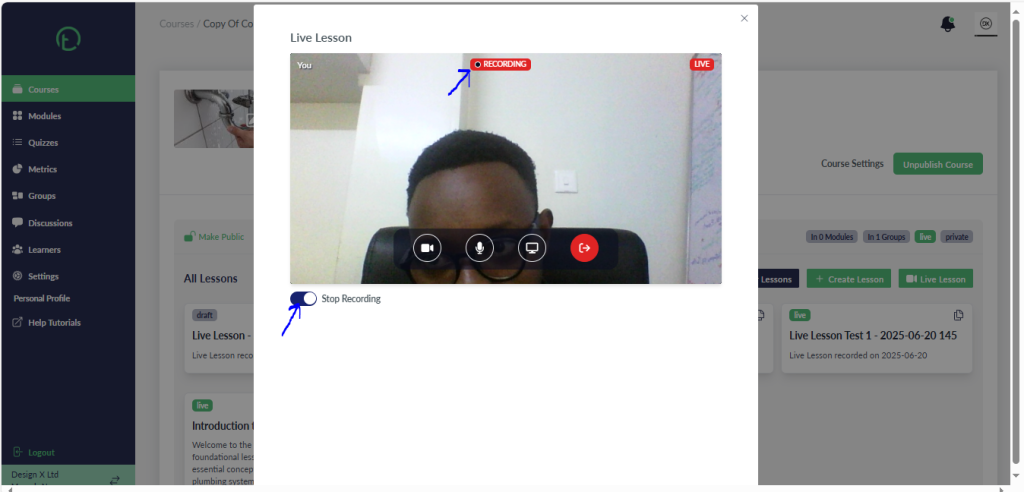
- On your left just below your camera view, you will see a toggle written Record session. Toggle it on to start recording your lesson.
- You will be notified that you are now recording, and you’ll see a red label on your screen written “Recording”.
Mobile.
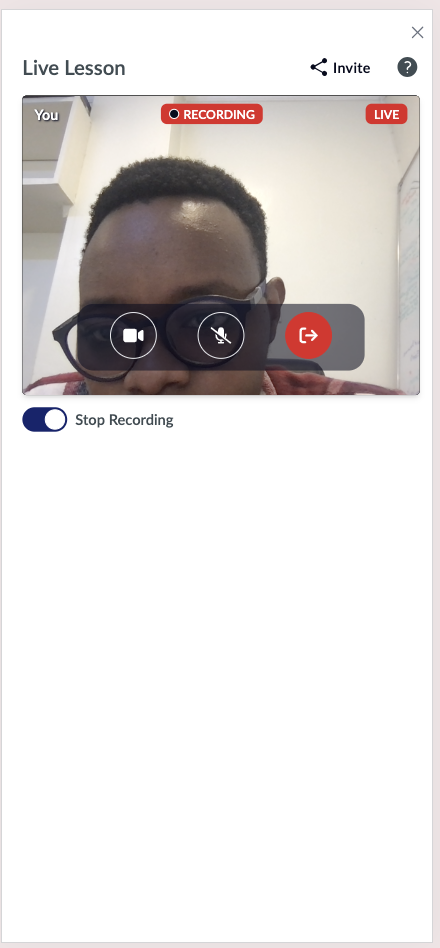
- Once you are done with the lesson and you wish to now stop recording, just hit the toggle again to stop recording.
- You will get an alert saying, “Recording stopped successfully”.
- The recorded lesson will be saved automatically once you hit the toggle to stop recording.
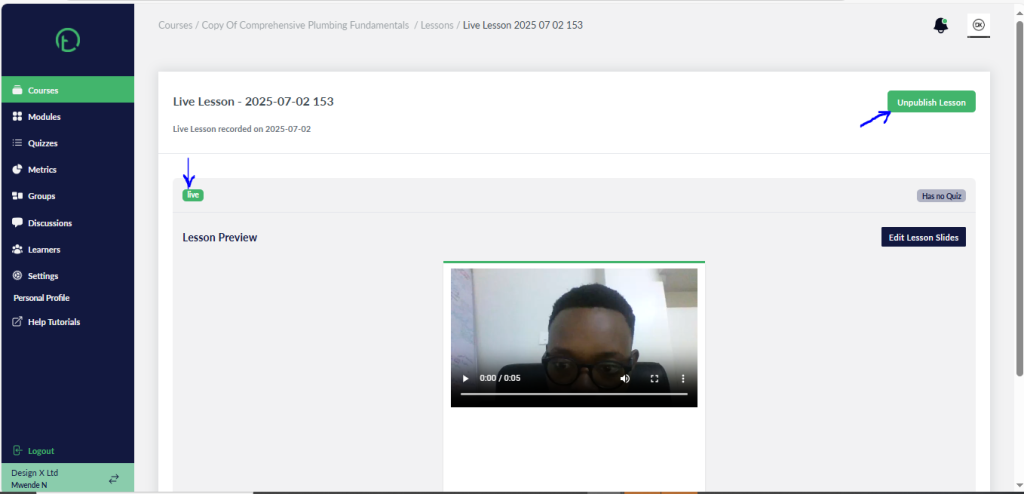
- Once you leave the live lesson modal, you will see the lesson titled with details of when the lesson was recorded.

Mobile.

- By default, the lesson is saved as a draft, to publish it and change the status to live, click on the lesson then proceed to publish.
Mobile.
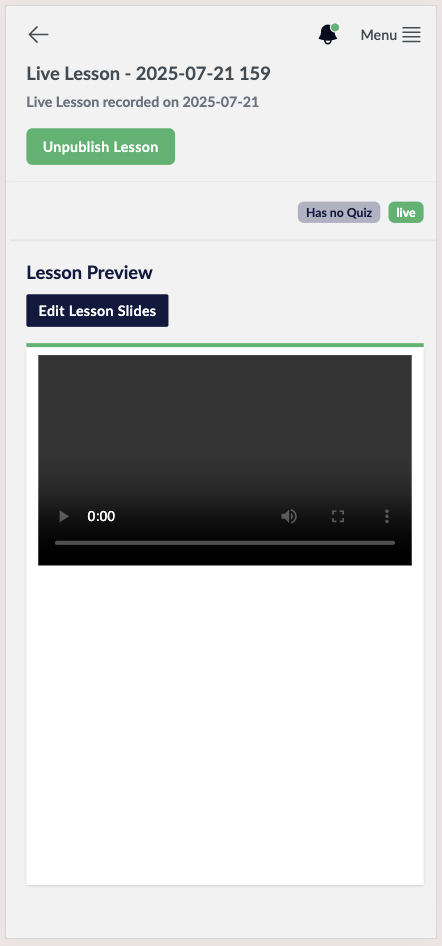
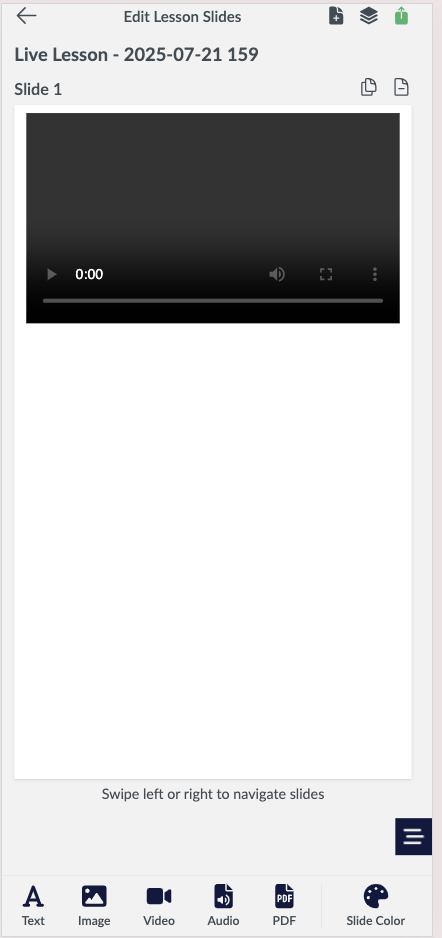
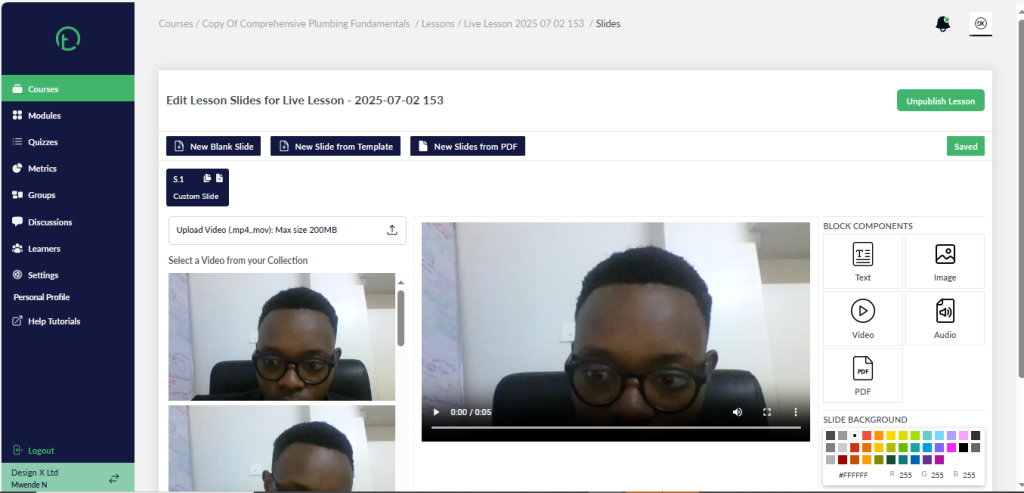
- You can view the lesson from here. You’ll see it as a normal lesson slide, and you can make edits to it by hitting the edit lesson slides button.
- The lesson slide will also be listed for media re-use in case you intend to use it in a different lesson.
Mobile.